
People who know me, know I have a bit of a penchant for black clothes. It’s not super obvious in my costuming wardrobe, but it’s also not a coincidence that my first big historical project was a black velvet ball gown.
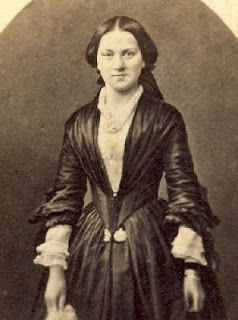
One of my favorite black gowns is this ca 1850 mourning gown in the Amsterdam museum:

It’s not a flashy or fancy gown, as a mourning gown usually is not. After all, it’s about restraint and lack of ornament. But in it’s relative simplicity, it’s a very clever design. The sheer wool fabric means there’s a depth to the skirt tiers, and the little pleats in the bodice draw the eye in to strengthen the illusion of a smaller waist.
A dress like this would’ve been worn on top of something, obviously the neckline is way too low to not be filled in. The wide sleeves, too, hint at under sleeves being suitable. There’s a collection of images of similar dresses in fashion plates and photographs to give some idea. I’m not sure if a mourning gown would ever have been worn with black under-things, but generally these were usually white.
The Dreamstress did a nice post about this particular dress a couple of years ago, which shows some more examples of the style: https://thedreamstress.com/2020/11/rate-the-dress-mid-century-mourning/
Quite a number of years ago I stumbled on a very sheer black fabric at a market, for I think about 2,00 per metre. The seller wasn’t sure if it was cotton or viscose, but I figured it was natural enough. It immediately reminded me of this dress, and so I got the whole bolt. It’s not wool as in the original, but finding affordable, quality wool that sheer was always going to be very tricky anyway.
The project got shelved for quite a while, as I never really had an occasion for it. Until the Prior Attire Victorian ball this year, which was themed 1840’s. Although dated 1850-55, this style could work in 1849 as well potentially, so I called it good enough a reason to finally make this dress and use some of my stash fabric!
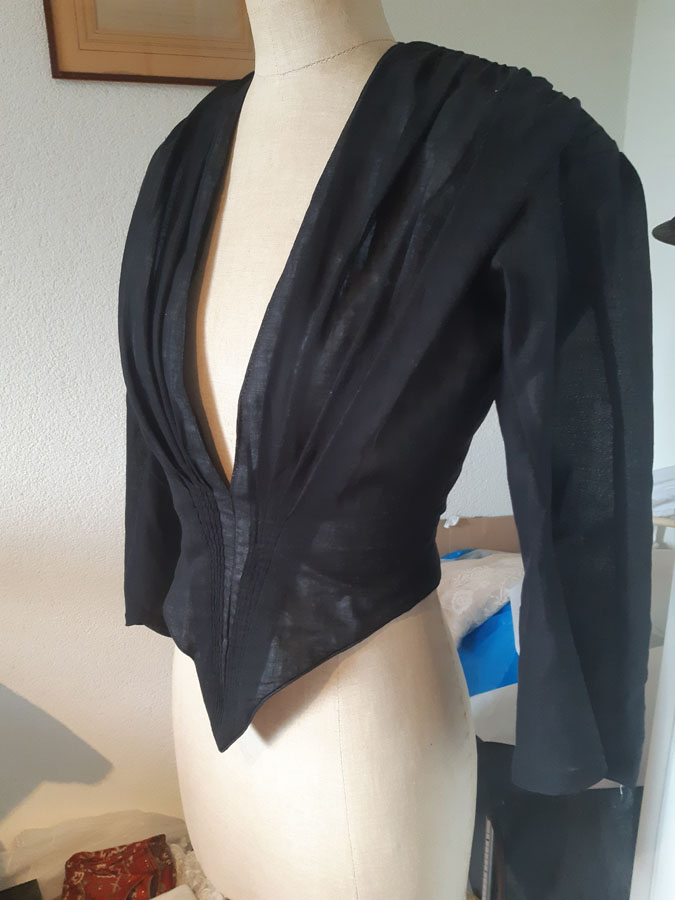
The bodice is made of 1 layer of the black, mounted on a white cotton lining. This way, the white shines through and not my corset. It also allows the pleats to pop, as you see it when the fabric is doubled.


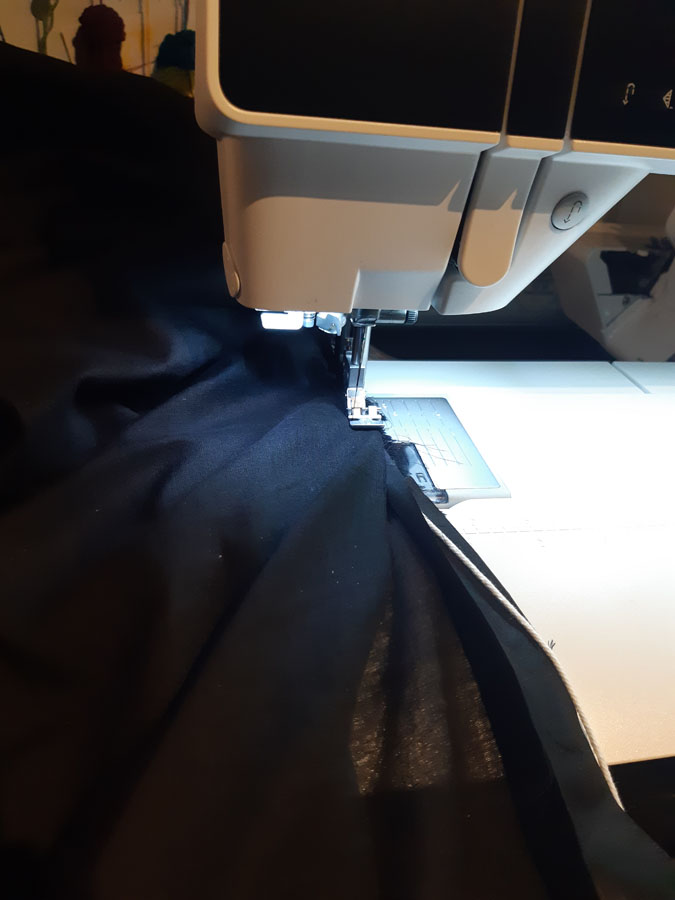
I pinned all the tiny pleats in place, and sewed them down by hand to get the maximal control. At the center front, the black layer is just folded in around the white lining to finish the edges.


The bottom edge of the bodice is finished with a tiny bit of piping. The sleeves I left unlined. The bodice closes in the back with hooks and bars.


With the bodice done, it was time to start on the skirt! The base layer is a big rectangle of the black fabric. For the tiers, I decided to seam a ‘tube’ of fabric on a bit of black silk piping. The original dress has a little edge on top of the tier at the bottom instead, but my method somehow made more sense to me. This way, each tier has 2 layers of fabric and the seam is nicely hidden in the piping at the top. The silk has just a tiny bit more shine than the base fabric for some nice detailing.


Each tier gets slightly smaller when you get to the top. The final widths took some drawing lines on the original image to make sure I’d get the right proportions, but worked out in the end.


The top of the skirt is pleated with 3 rows of gathering. I debated doing cartridge pleats, but the original doesn’t have it and at this point time until the event was getting a bit tighter, so this was the more practical option. The skirt was hemmed with a bit of heavier black cotton as facing. Hopefully, this will also protect the hem a bit, as the fabric is quite delicate by itself.


Then the main dress was done! I’d planned to wear this with antique undersleeves and chemisette underneath. However, when trying it on I found that my antique chemisettes were all too short, ending above the split in the bodice. So in the end, I made myself a new white cotton chemisette, decorated with some simple strips of lace. I can close the slit at the top with a pin, which also serves to hold the antique lace collor I planned to wear with it in place.

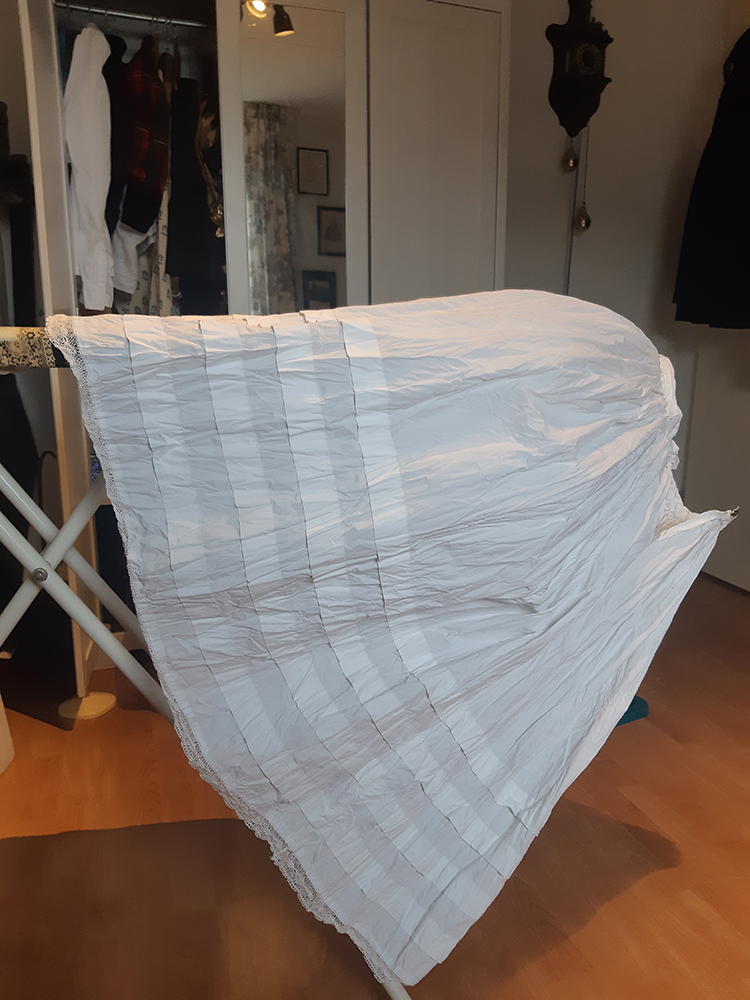
And then she was wearable! I had a black bonnet base lying around which I decorated with some bits of the black cotton fabric to add just a little bit of interest. To fluff the skirts, I’m wearing my 1830’s corded petticoat, plus two extra petticoats for poof.
I re-starched them for the event, and they came out very crispy indeed. They all stood up on their own before ironing, and they make a lovely sound when moving.

The dress was worn to the day-after event of the Victorian ball in Bath hosted by Izabella from Prior Attire. It was a great dress for a slightly overcast spring day, not too hot & cold, and no worries of the rain ruining the fabric. My only take-away is to see if I can somehow combat the gaping of the bodice a bit. I tend to slouch, which is very un-Victorian of me, and it makes the deep neckline a bit loose.


These are all the pictures I have for now. I’m still hoping to do a proper photoshoot with this dress, hopefully also with the (very dramatic) antique mourning veil I have.

Bravo et merci pour le partage!!
Une question: à l’époque, le corsage est-il baleiné ou plutôt très serré contre le corset au niveau de la taille?
Merci!
Usually the bodice was boned to make sure it wouldn’t wrinkle and stay smooth when fitting tight over the corset.
Bien compris 😉
Gorgeous! I can’t wait to see more photos!
Thank you!
Pingback: 2023 Year in Review | Atelier Nostalgia
Lovely! All of the fine details really stand out.
Best,
Quinn
Thanks! I loved that about the original, it’s super simple, but the fabric makes for some really nice contrasts.
Pingback: 1850 mourning – photos | Atelier Nostalgia